Completing the Storefront step
The third step of the setup wizard is Storefront. This sets up your first storefront, the website your customers shop on.
The step shows the same tabbed form you use when editing a storefront later, so there's a lot you can set here. You don't need to fill in every tab to finish the wizard. Only the required fields below must be completed, and you can change everything later.
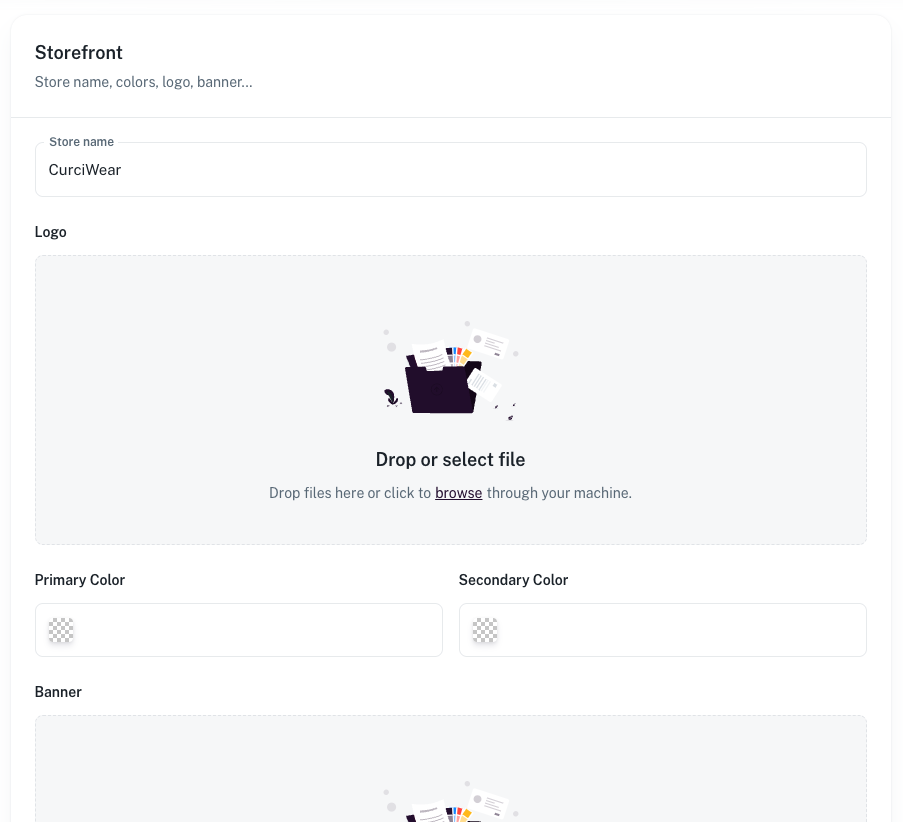
Before you start, we recommend having these ready:
- Store name
- Logo (JPG or PNG)
- Primary and secondary branding colours (colour picker or hex code)
- Banner image (1300×360px)
- The locations your store delivers to
The tabs
The form has seven tabs down the left side: General, Design & Branding, Banner, Fees, Info Notes, T&C and Age Verification and Settings. If something is missing or invalid, the form jumps to the tab with the problem.
General
| Field | Notes |
|---|---|
| Store name | Required. The title of your store. Choose something customers will recognise. |
| Protect with password? | Optional. Asks visitors for a password before they can view the storefront. |
| Locations | Required. The locations your storefront can deliver or supply products to. Select at least one, or several. |
| Store status | See Store status below. |
| Currency | The currency your store takes payment in. It starts as the currency of your country. Each storefront accepts one currency. |
Password protection: tick Protect with password?, then enter a Password (at least 6 characters) and Confirm Password. If the passwords don't match you'll see Passwords do not match.
Custom URL: the custom URL field isn't shown in the wizard. Your storefront's address is created automatically from your store name. You can set a custom URL after the wizard. See How to set up your custom URL and Understanding your Trove URLs.
If you change the store name, the automatically generated web address changes with it. There's no warning about this in the wizard, so settle on a name before you share your storefront link.
Store status
Your first storefront starts in Demo mode. The options are:
| Status | What customers see |
|---|---|
| DEMO | The store works as normal, with a banner across the top saying STORE IN DEMO MODE. Orders still sync to your integrations but are tagged DEMO and emails are prefixed with [DEMO]. Don't fulfil these orders, they're for testing only. A demo payment method is available on demo stores. |
| ACTIVE | The store is public and can be purchased from. |
| INACTIVE | Customers see a message that the store is no longer available. |
| FOR REVIEW | Customers see a "Thanks for stopping by!" page saying the store is being reviewed and to check back shortly. |
Change the status to ACTIVE when you're ready to start selling. The wizard doesn't prompt you to do this.
Design & Branding
| Field | Required | Notes |
|---|---|---|
| Site Icon | No | The favicon for your site. Use a square image. JPEG, JPG, PNG, SVG, WebP or AVIF, up to 10 MB. |
| Logo | Yes | Placed on a white background. JPEG, JPG or PNG, up to 10 MB. |
| Logo Height (px) | No | The maximum logo height in the navigation bar, from 40 to 150. Default 45. |
| Order Confirmation Image | No | Shown on the thank you page after checkout. Leave empty to use the default. |
| Image Layout | No | Cover fills the product image area and may crop the edges. Contain shows the whole image and may show the background. |
| Primary Color | Yes | The main colour used throughout the store. We recommend not using white. |
| Secondary Color | Yes | The accent colour. We recommend not using white. |
| Font Colour | No | Colour of body text, headings and other text. Defaults to #212121. |
| Background Colour | No | Leave blank for the standard white. Use a pale or light colour so text stays readable. |
| Heading font, Body font, Button font | No | Choose a font and weight for each. Leave as Default for the standard font (Nunito). |
| Storefront corners, Button corners | No | Rounded or Square. |
A live preview of your colours appears beside the inputs. You can use Preview Store to check colours look correct and readable.
Both colours can be your brand colours, or colours based on a theme.
Banner
- Show image banner (on by default) – the main image at the top of the home page. We recommend 1300×360px. Images with a different shape are cropped to fit, so keep important text near the centre. When this is switched on, a banner image is required, otherwise you'll see Banner is required when the image banner is enabled. Switch it off if you don't have an image yet.
- Promotional/Alert Banner – a text banner at the very top of your storefront for shipping information, sales or anything else. Up to 200 characters.
- Show text banner (on by default) – a heading and some content on the main page that welcomes customers and explains your gifting service. The Heading is required while this is on and starts as "No hassle corporate gifting." The Content is optional.
Fees
Choose whether to pass some of the Trove fee on to the buyer:
- Transfer none of the fee (default)
- Transfer half of the fee
- Transfer all of the fee
If you transfer any of it, you can name the fee (it defaults to Processing fee) and choose Combine fees to show all storefront fees as one line.
Info Notes
Optional grey information boxes shown to customers during checkout, such as a delivery method note or a gift settings note. Each note has a Show this info note on the storefront switch and a Note text box. All notes are off by default.
T&C and Age Verification
- Require terms & conditions acceptance – shows a checkbox at checkout. Enter the Checkbox copy (required when on), and optionally a Link label and Link URL (starting with http:// or https://).
- Show age gate popup on site load and Require age confirmation at checkout – for age restricted products. Set the Minimum age (a whole number from 1 to 120) and the copy for the popup and checkout checkbox.
Settings
- Google Analytics 4 (GA4) Code – in the format
G-XXXXXXXXXX. - Available Delivery Methods – choose at least one of Multiple addresses, Send via Email, Create a Link, Send to One Location and Gift of Choice. Gift of Choice also needs Send via Email or Create a Link.
- Gift note settings, Customer Accounts options, recipient contact information and other storefront settings.
See Storefront settings for what each setting does.
Finishing the step
Click Next to save. Only the fields you've changed are saved. You can edit any of this later from the Storefront section in the sidebar.